This sequence of photos runs from bottom to top, so start at the bottom.
The shed in its final resting place.

Laying the paving stones in the new position, we also dug out about 10 wheel barrows of sharp sand and stone from the original foundation to re-use for laying the paving again. It was rather hard work and I think Vincent is looking forward to leaving the forced labour camp ;-)
Alison's dad and I broke

it free and tried to move it in one piece, but the gap between the trees was too small so we had to take the back and two sides off to get it in place.
When we moved the shed there was a big hole in the hedge, so we used one of the walls from the chicken house that I broke down to extend the height of the fence on a temporary basis.

This was the original postion of the garden / bike shed.
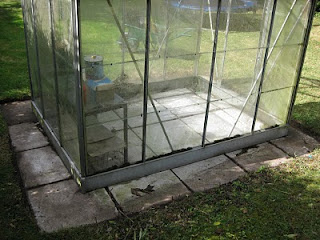
 Liam, Zac and I also finished cleaning up the paving around the greenhouse, there was some lovely soil that we dug up but it was littered with broken glass so I ended up throwing it out.


 Today Alison's dad helped me move the lathe. We started by building a platform to over the lathe. We used the window sill on the far side to rest it on. We then levered the lathe head up onto wooden blocks above the cabinet, we then tied it in this position with webbing and removed the wooden blocks so it hung in the air. We then slid the cabinet out and took it to the summer house / shed on the trolley.
 onto the cabinet! But that is tomorrows job.

 it free and tried to move it in one piece, but the gap between the trees was too small so we had to take the back and two sides off to get it in place.
 Shower project: the pole the shower nozel attaches to was short and high up so the kids couldn't get to the soap dish or shower. I bought a piece of stainless form my scrap guy and made a very long pole. In the picture you can see a tiny white spot on the wall behind the pole right near the top of the picture, this was the original point of the bottom of the shower pole!!! It was Bernice height :-)